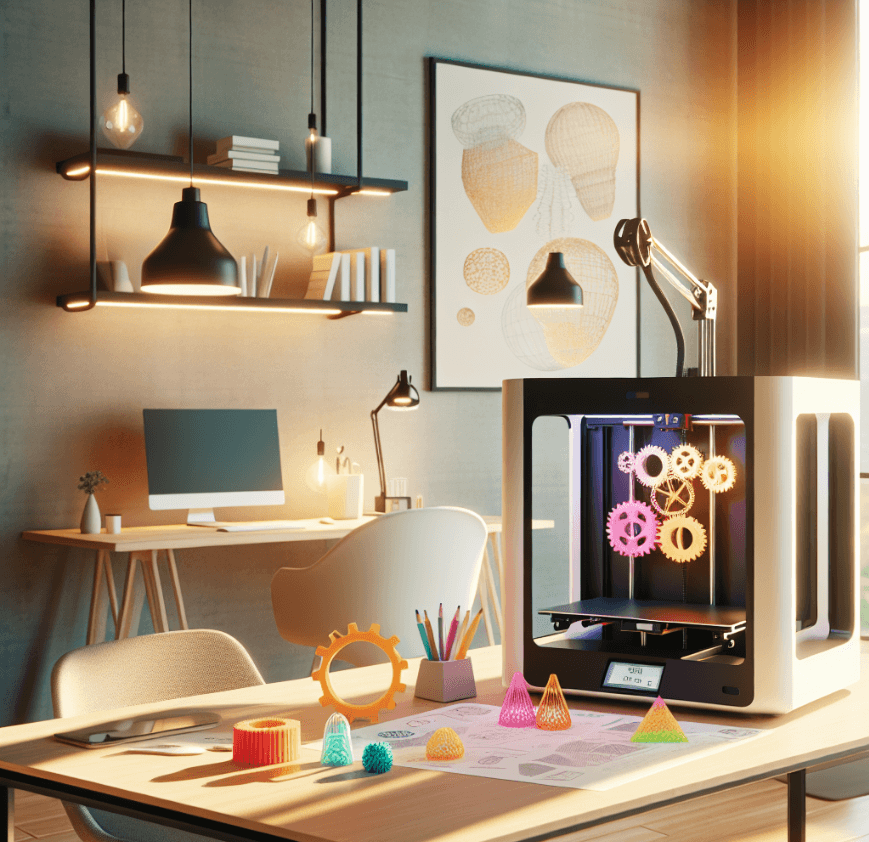
How to Get Started with 3D Printing as a Beginner
3D printing opens a remarkable world of on-demand digital fabrication, offering enthusiasts, hobbyists, and aspiring professionals excellent opportunities to produce customized parts and prototypes. This process plays a central role in the wider context of learn the fundamentals of Rapid Prototyping, a method that empowers creators to quickly iterate and refine their designs using emerging tools like 3D printers. We are writing to help beginners make their first try with 3D printing. Follow these steps to create your first-ever 3D prints:
1. Choose a 3D Printer
For early skill building, affordable Fused Deposition Modeling (FDM) print prove ideal starting points. These extrude plastic filaments into shapes precisely layer by layer. Recommended models like the Creality Ender 3 or Anycubic i3 Mega deliver quality first prints conveniently priced under $300. Supportive online user communities exist around such printers, facilitating inevitable troubleshooting inquiries beginners face. Consider workspace volumes available since many starters occupy substantial desktop footprints.
2. Purchase Materials
Start with commonly used Polylactic Acid (PLA) material, which offers the easiest initial printing among plastics – environmentally friendly at low temperatures and harmless to humans when following basic ventilation precautions. Buy various PLA colors from Amazon or specialty online retailers like MatterHackers at reasonable bulk rates. Expect to experiment with an assortment until you discover a few favorites suitable across future prints.
3. Learn Design Software
There are two primary pathways for creating original digital model files, which are crucial for driving the possibilities of physical print output. For beginners, Tinkercad is an intuitive platform featuring drag-and-drop tools for solid geometry manipulation. It allows users to quickly craft basic shapes, which can be expanded upon as they gain experience.Beyond shape creation, another key step in the journey of 3D modeling is understanding 3D Printing STL files. On the other hand, Autodesk Fusion 360 offers more in-depth design capabilities, though it comes with a steeper learning curve, making it better suited for those with some prior drafting experience. Fusion 360 includes comprehensive tutorials that help new users navigate through its more complex parametric modeling features. Fortunately, both options offer free access, perfectly meeting the needs of hobbyists.

4. Use Slicing Software
Downloading and learning to leverage slicing software forms the next step in processing created 3D model files for interpretation by printers. Cura and PrusaSlicer comprise two respected free options which through online guides teach beginners adjusting key settings like layer heights, infill patterns, support structures and print speeds dictating model materialization accuracy and quality correlating settings to geometries and media utilized. Stick with default presets initially.
5. Print Your First Object
The excitement builds as you select your first objects to print. Online model repositories such as Thingiverse or MyMiniFactory provide a vast array of free, premade designs, ranging from specialty dice and practical phone stands to popular figurines, perfect for your initial test prints. Expect some defects and the need for reprints as you optimize slicer profiles to suit new materials and adjust machine alignments. However, embracing continuous improvement through firsthand experience is what makes 3D printing so rewarding in the long term.
6. Post-Processing
After your object has been printed, it isn’t over yet. The post-processing stage is crucial for transforming your raw 3D-printed piece into a polished, presentable final product. This can seem daunting to beginners, but with the right approach, it becomes an integral part of the creative process. Here’s how to proceed:
| Stage | Instructions |
|---|---|
| Removing the Object | Wait for the print bed to cool before removal to avoid deformation. Gently use a spatula or painter’s knife; if stuck, apply little force but avoid breaking the model. |
| Removing Support | Gently break away supports with pliers. For stubborn supports, carefully use a craft knife applying slight pressure, avoiding damage to the object or personal injury. |
| Sanding | Start with coarse (200 grit) sandpaper for larger imperfections. Move to finer grits (400-800) for smoothing. Sand in circular motions; avoid pressing too hard. |
| Gap Filling | Fill gaps with suitable filler (e.g., wood filler for PLA). Allow filler to dry per instructions, then sand to a smooth finish. |
| Washing | Clean the model with mild, soapy water or rubbing alcohol. Let it dry completely before proceeding. |
| Priming (Optional) | Apply a coat of primer if painting is intended. Use spray primer for an even coat and allow to dry completely. |
| Painting | Use acrylic or spray paints suitable for plastics. Apply thin layers, allowing them to dry between coats. Use fine brushes for details and larger brushes for broad areas. |
| Sealing (Optional) | Apply a clear sealant to protect paint and achieve a finished look. Choose between matte or glossy sealants based on the desired finish. |
| Maintenance of Tools | Keep tools clean and in good condition. Regularly check and replace worn-out sandpaper for efficient and smooth sanding. |
By following these steps, you transform a simple 3D print into a finished piece of art or functional object.
7. Join an Online Community
We cannot overstate enough how invaluable online forums prove to progressing printer skills, interacting with thousands, and sharing insights. Reddit forums like r/3Dprinting remain amazingly responsive and constructive for troubleshooting advice. Feedback helps newcomers stick with the steep initial learning phase. One finds motivation alone in seeing others’ creations spurring your next imaginative iteration.
8. Experiment Extensively
As with any hands-on building hobby from woodworking to coding, keep printing different free models or customize your own designs using acquired software skills. Run through material options and colors beyond standard PLAs. Keep notes on what slicer setting combinations print best for improving initial layer adhesion, higher resolution curves, or quicker run times to understand intrinsically what works well. 3D printing proves profoundly experimental, so remain focused on learning through doing.
Doing your first 3D printing can be immensely satisfying, as it blends creativity with technical skill. Remember, every expert was once a beginner. Patience, practice, and perseverance are your best allies in mastering this exciting new technology.
Questions You May Have When 3D Printing for the First Time
Q1: Why does my 3D print keep failing?
A: Print failures can be due to various reasons such as incorrect bed leveling, inappropriate temperature settings for the filament, or clogged nozzles. To optimize your printing process, ensure your bed is properly leveled, the printing temperature matches the filament requirements, and the nozzle is clean and free of obstructions. However, if you’re looking for precision and sophisticated finishes, or if you’re struggling to achieve the desired results on your own, you might want to explore professional online 3D printing services for advanced capabilities and materials that could be beyond the scope of personal printers.
Q2: How can I prevent the warping of my 3D prints?
A: Warping occurs due to the plastic cooling and contracting unevenly, which is just one of the challenges that may arise during the printing process. To prevent this, ensure the print bed is properly heated, apply a suitable adhesive (like a glue stick or hairspray) to the bed, and adjust the cooling fan settings to reduce the cooling speed. For additional insights and solutions on such issues, delve into advanced troubleshooting techniques for 3D printed prototypes, encompassing common problems and practical strategies to fix them.
Q3: What is the best filament to use for beginners?
A: PLA (Polylactic Acid) is the best filament for beginners due to its ease of use, low printing temperature, and minimal warping. It’s also environmentally friendly and available in various colors.
Q4: How do I remove supports from my print without damaging it?
A: Use small pliers or tweezers to gently remove the supports. For stubborn areas, use a craft knife, but be careful not to cut into the actual model. You can also sand the area after removal to create a smoother surface.
Q5: How can I learn to design my own 3D models?
A: Start with beginner-friendly software like Tinkercad. There are numerous free online tutorials that can help you get started with basic designs. Gradually move to more advanced software like Blender or Fusion 360 as you gain confidence.
Q6: How do I find the optimal settings for my 3D printer?
A: Start with the manufacturer’s recommended settings. From there, perform small test prints (like calibration cubes) to fine-tune the settings. Keep notes on what changes affect the print quality and in what way.
Q7: Can I use any brand of filament with my printer?
A: While most printers can use filaments from different brands, it’s essential to use the right type (e.g., PLA, ABS, PETG) that is compatible with your printer’s capabilities. Always check the filament diameter and printing temperature range to ensure compatibility.
Q8: What are some good resources for learning more about 3D printing?
A: Online platforms like YouTube have countless tutorials and user guides. Websites like Instructables, Thingiverse, and the subreddit r/3Dprinting are excellent places to find community support, projects, and advice. Additionally, many online courses offer structured learning paths for 3D printing and modeling.
Q9: How often should I maintain my 3D printer?
A: Regular maintenance is key to consistent print quality. Clean the build plate regularly, check the nozzle for clogs every few prints, and lubricate the moving parts every couple of months or according to the manufacturer’s guidelines.
Q10: What should I do if the filament is not sticking to the bed?
A: First, make sure the bed is level and clean. Adjust the bed temperature according to the filament type. Reapply bed adhesive if necessary, and adjust the nozzle height closer to the bed for better adhesion without squashing the filament.
Q11: Why is the surface of my 3D print not smooth?
A: A rough surface can be caused by setting the layer height too high or printing too fast. Try lowering the layer height and reducing the print speed. Additionally, check that the extrusion rate is appropriate; both over-extrusion and under-extrusion can affect surface quality.
Q12: Why does my 3D print have tiny gaps?
A: Gaps are often due to low infill density or inconsistent extrusion. Increase the infill density and ensure the extruder and nozzle are functioning properly and are not clogged.
Q13: Why does my print stop or layer shift midway?
A: This could be due to the printer overheating or issues with the 3D printing software. Make sure your printer’s firmware is up-to-date, and the software settings are correct. Also, check the printer’s cooling system to ensure it is not overheating.
Q14: How should I store my 3D printing materials?
A: 3D printing materials should be kept away from direct sunlight and stored in a dry, cool environment. For moisture-sensitive materials like PLA and ABS, storing them in sealed bags with desiccants can extend their shelf life.
Q15: How should I clean the print bed after printing?
A: Use non-abrasive tools, such as a plastic scraper or a silicone spatula, to gently remove the print from the bed. Avoid using sharp or metal tools to prevent scratching the print bed. For sticky surfaces, warm water or a specialized cleaning solution can be used for cleaning.
Q16: How can I ensure the dimensions of my print are accurate?
A: Make sure the 3D model is accurately designed with the correct dimensions, and use a calibration cube to calibrate your printer. Check the settings of the stepper motors and the calibration of the Z-axis to ensure each layer is accurately positioned.
Q17: Why does my printed object differ from the model?
A: This could be due to improper slicer software settings. Review your slicer settings to ensure parameters like infill, support, and wall thickness are correctly configured. Additionally, make sure there are no design flaws in the 3D model.
By addressing these common issues, beginners can improve their 3D printing experiences and gradually advance their skills.


