


7 Tips for Optimizing Design for 3D Printed Prototypes
Navigation
- Know Material Constraints
- Design for Additive Manufacturing
- Enhancing Wall Thickness and Ensuring Structural Stability
- Strategizing Build Orientation for Optimal Results
- Integrating Tolerances and Clearances for Functional Precision
- Utilizing Efficient Infill Strategies
- Don’t Overlook Surface Finish and Post-Processing
- Final Words
3D printing technology has revolutionized rapid prototyping and enabled businesses to accelerate design workflows. With its exceptional capabilities for on-demand part production, complex geometries, customized designs, and more, 3D printing streamlines prototyping across various applications.
However, to tap into the full potential of additive manufacturing and produce robust, functional prototypes, designs must be optimized for the unique requirements of 3D printing processes. This article details 7 key strategies for optimizing design for 3D printed prototypes,If you’re a beginner looking to understand the entire process, check out this step-by-step guide on how to create a 3D prototype.
Know Material Constraints
Optimizing design for 3D printed prototypes involves understanding and addressing various material constraints, as they significantly impact the feasibility, performance, and end-use of the prototype. Below are detailed discussions on different material constraints and how they should be considered during the design process to optimize 3D printed prototypes:
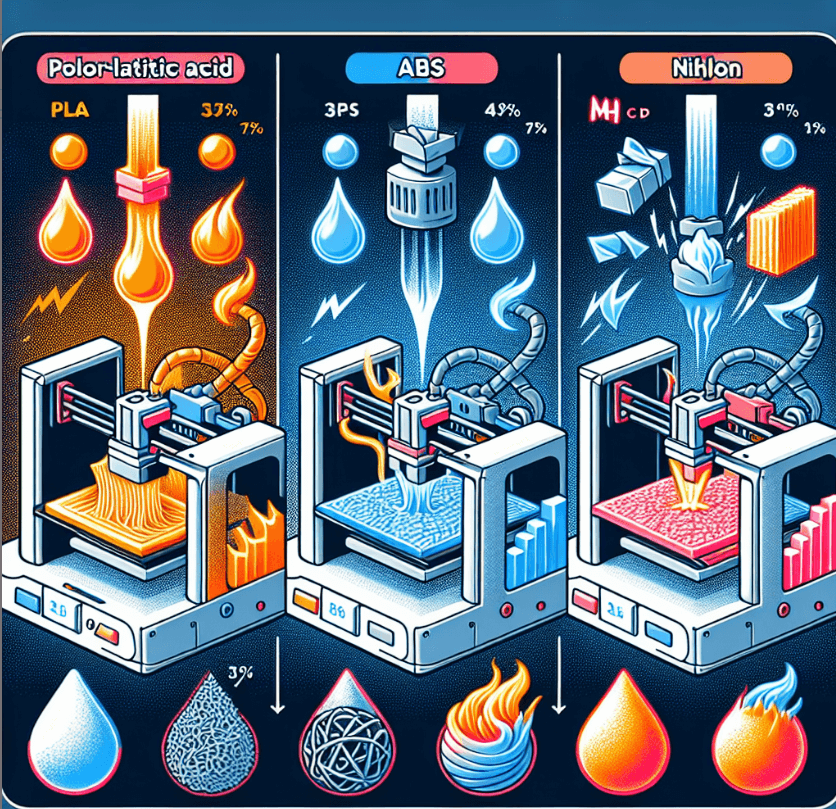
- Thermal Properties: Different materials react differently to heat, which affects how they can be used and what applications they are suited for. For instance, materials like PLA have a lower melting point compared to ABS or nylon, making them less suitable for high-temperature applications. Understanding the thermal properties of materials helps in designing prototypes that can withstand the intended operating temperatures without deforming or losing integrity.Selecting the best heat resistant materials for 3D printing is key for prototypes intended for high-temperature applications.
- Strength and Durability: The mechanical properties such as tensile strength, impact resistance, and flexibility vary greatly among different 3D printing materials. For example, resin-based prints (SLA) can create very detailed prototypes but may lack the strength provided by filament-based prints (FDM) using materials like Polycarbonate or Nylon; you might want to compare the strengths and weaknesses of SLA versus FDM printing technologies in our detailed comparison.
- Resolution and accuracy: The level of detail and accuracy achievable in a 3D printed prototype is not only constrained by the chosen material but also significantly influenced by the diverse differences in 3D printed materials. Fine details might not be as pronounced in softer, more flexible materials, while rigid materials can offer higher resolution. This affects how small features and textures are designed and whether they can be successfully reproduced in the final print.
- Support Requirements: Some materials require more support structures during printing due to their properties, such as overhang performance or warping tendencies. This can influence the design, as more supports may mean more post-processing work and could affect the surface finish of the final product. Designers need to balance the need for supports with the desire for a clean, high-quality finish.
- Surface Finish and Aesthetics: Materials can vary greatly in terms of the surface finish they can achieve. For example, ABS can be smoothed with acetone vapor to create a glossy finish, while materials like TPU (thermoplastic polyurethane) will remain matte and textured. The expected surface finish should guide the aesthetic choices in the design phase.
- Environmental Resistance: Some prototypes may need to withstand harsh environments, including exposure to chemicals, UV light, or moisture. Materials like PETG are known for their chemical resistance and strength, making them ideal for such conditions. The environmental resistance of the chosen material should match the prototype’s intended environment to ensure longevity and functionality.
- Printability and Availability: Not all materials are equally easy to print with; some may require specialized printers or printing conditions. Additionally, the availability and cost of materials can vary, affecting the practicality of using certain materials for prototyping. Designers must consider these factors to ensure the prototype can be produced efficiently and within budget.
Design for Additive Manufacturing
When designing for additive manufacturing, your approach should transcend traditional design methods to fully leverage the unique possibilities afforded by 3D printing. This means thinking beyond the limitations of conventional manufacturing processes and embracing the freedom to innovate.
Consider the design of lightweight yet strong structures: in nature, we observe efficient, optimized shapes such as the intricate patterns of a leaf or the robust yet hollow bones of birds. These natural designs inspire bionic and biomimetic approaches in 3D printed objects, where material is only used where necessary, resulting in significant weight reduction without sacrificing strength.
Furthermore, the design process should actively seek to eliminate unnecessary elements that are a legacy of traditional manufacturing methods – such as joints, fasteners, and supports – which are not only redundant in a 3D printing context but can also compromise the efficiency and aesthetics of the final product. By adopting a mindset that prioritizes design for additive manufacturing (DfAM), you can create parts that are optimized for performance and aesthetics, while also reducing assembly time and material usage.
Incorporating these principles, your design approach should shift towards creating more cohesive and inherently stable structures that take full advantage of additive manufacturing’s ability to produce complex, integrated shapes and internal geometries. This shift not only enhances the functionality and durability of the prototypes but also streamlines the production process, paving the way for more sustainable and cost-effective manufacturing solutions.
Enhancing Wall Thickness and Ensuring Structural Stability
In 3D printing, the beauty of creating intricate internal structures and lattice frameworks lies in their ability to significantly reduce material usage and overall weight. However, this innovative approach can inadvertently compromise the structural integrity of the print if not meticulously planned. It is essential to adhere to the minimum wall thickness guidelines to prevent the structure from collapsing or developing cracks during the printing process. This precaution is particularly critical when dealing with variables such as the length of unsupported spans, the proportional relationship between hole sizes and wall thicknesses, and the aspect ratios and orientations of internal features.
Consider, for instance, the challenges presented by small horizontal apertures within vertical walls, which are notoriously prone to failure. It is crucial to carefully assess elements like overhangs and internal angles, particularly those exceeding a 45-degree inclination, and to introduce sacrificial support structures as necessary to counteract potential weaknesses. Incorporating gradual transitions and rounded edges (fillets) can significantly bolster areas vulnerable to stress, reducing the likelihood of shearing or fracture. Employing analytical tools specific to each 3D printing method can assist in ensuring that your designs adhere to the requisite minimum thickness standards, thereby enhancing the durability and reliability of the final print.
Strategizing Build Orientation for Optimal Results
The chosen orientation of a part during the 3D printing process plays a pivotal role in defining the end product’s precision, surface finish, and even the cost and speed of production. Strategic alignment of parts is essential to mitigate the need for extensive support structures for significant overhangs, while also balancing aesthetic and functional considerations.
Parts designed with vertical walls and slopes that face downward, avoiding angles that surpass the critical threshold, typically yield the best outcomes. Orienting overhangs strategically to facilitate easier removal of supports can enhance post-processing efficiency. By analyzing different orientations to minimize the overall height of the build, one can significantly curtail both production expenses and time. Although identifying the most advantageous orientation involves a degree of experimentation, modern additive manufacturing software offers analytical tools that allow for the virtual modeling of various scenarios. This capability enables designers to make informed decisions by considering the trade-offs between manufacturing speed and the precision or quality of the surface finish.
Integrating Tolerances and Clearances for Functional Precision
It’s a well-acknowledged fact that the actual dimensions of printed components can deviate from their CAD specifications, typically ranging from a plus or minus discrepancy of 0.5% to 1%. This inherent variance necessitates the incorporation of specific tolerances into the design to accommodate the expected levels of precision. While general prototyping might allow for clearances in the vicinity of plus or minus 0.005 inches, applications requiring higher precision necessitate tighter tolerances, approaching plus or minus 0.002 inches.
When designing parts, it’s imperative to factor in these error margins, particularly concerning critical interfaces such as mating surfaces or points of assembly insertion.Understanding 3D print tolerances is crucial for ensuring functional precision, and knowing their importance, measurement, and control is essential.For instance, a press-fit component designed to the maximal dimensions specified in CAD might fail to align properly during assembly. By adjusting for potential discrepancies-either by designing with offsets or by targeting the lower or upper bounds of the accuracy spectrum-designers can ensure a more reliable fit. Additionally, it’s important to define suitable clearances for moving assemblies. While traditional engineering might favor minimal clearances to diminish backlash and heighten precision, a more lenient approach may be advisable for initial prototypes to prevent components from seizing during functional testing. By judiciously determining the optimal tolerances and clearances, designers can significantly enhance the practicality and performance of their 3D printed prototypes.
Utilizing Efficient Infill Strategies
Infill, the internal structure created within a 3D printed object, plays a critical role in balancing the prototype’s weight, strength, and material usage. Selecting the appropriate infill percentage and pattern is essential to ensure the model meets the required specifications without unnecessary waste. For rapid prototyping and non-critical models, a 20% infill rate, combined with thicker outer walls and top layers, typically provides sufficient structure while conserving material. However, for prototypes intended for functional testing or real-world application, a denser infill-ranging from 40% to 60%-can significantly enhance strength without excessively increasing weight.
The choice of infill pattern further influences the prototype’s properties; options like grid, hexagonal (similar to honeycomb), and linear configurations vary in their impact on the object’s strength, weight, and the time required for printing. Integrating advanced techniques such as variable infill densities-where the infill percentage increases nearer to the object’s outer surfaces-can markedly improve both the surface quality and structural integrity, offering a smoother exterior and higher precision. Tailoring the infill settings according to the specific needs of the project allows for a customized balance between durability and material efficiency.
Don’t Overlook Surface Finish and Post-Processing
The surface finish of 3D printed objects often lacks the smoothness and refinement seen in parts produced through conventional manufacturing processes. Common issues include visible layer lines, stepping effects, and rough textures, particularly with filament-based (FDM) printing. Addressing these imperfections requires a thoughtful approach to post-processing, which can significantly elevate the prototype’s aesthetic and functional qualities.
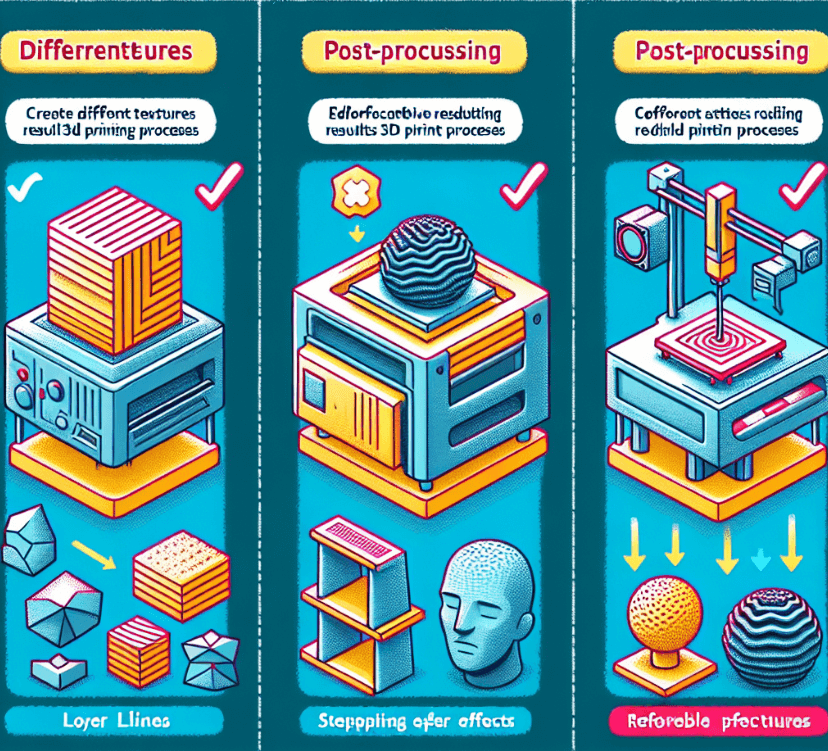
Initial steps often involve the removal of support structures followed by sanding to eliminate roughness and reduce layer visibility. More advanced techniques, such as machining, painting, applying finishing coatings, or engaging in chemical vapor smoothing, can further refine the surface, providing a higher level of finish suitable for final product prototypes. It’s crucial to anticipate the need for such finishing processes from the beginning, designing parts with slight oversizing to accommodate material removal and ensure proper fit after post-processing.
Moreover, when planning for assembly or functional testing, consider the impact of post-processing on component dimensions and fit. It may be necessary to adjust the design dimensions to account for changes resulting from these finishing techniques. Incorporating allowances for scaling down or smoothing out specific features can extend the utility and applicability of prototypes. Since post-processing can vary in its effect on different parts, producing additional copies for test finishing can provide valuable practice and help refine the approach for optimal results. Integrating these post-processing steps into the overall project timeline is essential to ensure that the final prototypes meet all functional and aesthetic requirements without unexpected delays.
Final Words
Tapping into the full potential of optimizing your design for 3D printed prototypes can involve a steep learning curve and significant investment in equipment, materials, and software. However, there’s an effective solution to overcome these hurdles, which is choosing the right online 3D printing service. QSYrapid rises to this occasion offering a seamless 3D printing experience, tailored just for your needs. With their specialized knowledge and extensive capabilities, they optimally accommodate all seven factors mentioned above. From understanding material constraints to implementing efficient infill strategies, QSYrapid’s team of experts meticulously takes care of every detail. They involve customers throughout the process, giving you opportunities to provide inputs while expertly handling all complex facets of 3D printing. It’s their thorough approach and commitment to quality that ensures every project’s success. With QSYrapid, you can be confident that your vision will be transformed into a tangible, functional, and aesthetically pleasing prototype. In essence, QSYrapid is a leading choice that enables designers and businesses alike to harness the power of 3D printing, fostering innovation and game-changing product development. Finding a reliable partner like them in your prototyping journey ensures a smoother transition from conception to final product delivery.