3D Printing for Spare Parts: How to Revolutionize Your Repairs!
Thanks to incredible progress in additive manufacturing or 3D printing technology, fabricating once difficult-to-find spare parts to repair products has become affordable and convenient for small businesses and DIY enthusiasts. By scanning and digitizing existing parts or sourcing digital plans for download, desktop 3D printers now produce functional plastic replacements on demand to keep commercial systems and everyday items going past their intended lifespan. Here is an overview of the end-to-end process for 3D printing replacement parts economically when failures or damage arises.
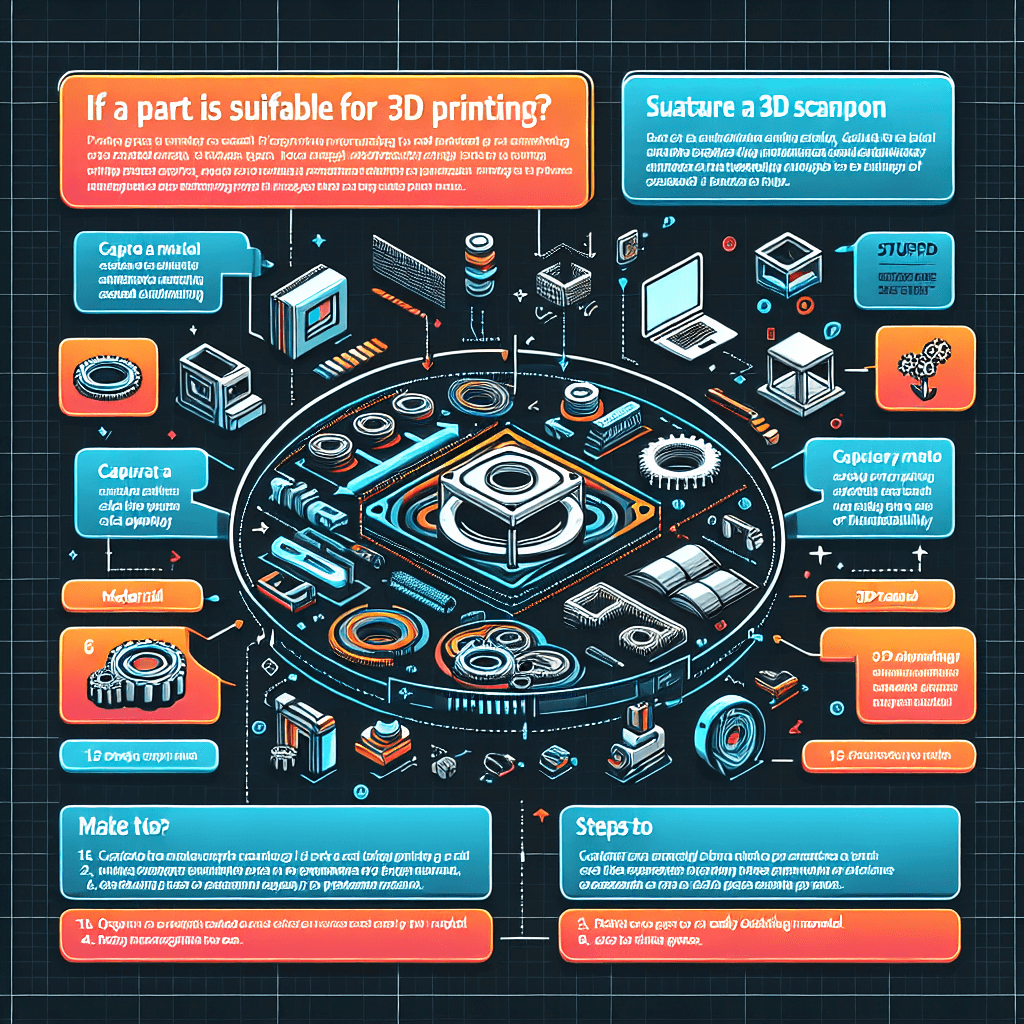
1. Evaluate the Suitability of Parts for 3D Printing
The very first step when considering 3D printed fixes involves determining if parts are actually well-suited for replication via affordable home 3D printer systems.
Does the component exhibit deep geometric complexity, sub-millimeter tolerances or withstand considerable environmental/mechanical stresses daily? If so, specialized production 3D printing supplier is likely still necessary.
However, for many smaller plastic brackets, covers, knobs, remote control bodies, or household components under fewer precision demands, even desktop printing now proves capable of reproducing lasting replacements. For anyone curious about the distinctions and when one might be preferred over the other, a deeper dive into Industrial 3D Printer vs. Desktop 3D Printer: What Are the Differences? can provide valuable insights. Expect to experiment with various filament materials and dial in optimal digital part designs capturing essential strength characteristics and alignments, ensuring the new pieces integrate back into systems or appliances reliably

2. Capture 3D Scans or Source Existing Models
Ideally, if failing objects you need spare replacements for remain available, utilize handheld 3D scanners conveniently capturing precise digital surface geometries down to 0.05 mm detail levels or better. Affordable beginner 3D scanners cost below $350, providing high-resolution scans suitable for smaller parts designed in CAD software afterward. However, for larger components like car bumpers or paneling, seek out professional 3D scanning studios offering high-precision large-format digitization.
Alternatively, check popular digital part repositories online containing 3D models of thousands of commercial off-the-shelf components searchable by manufacturers and part numbers. The open-source community often shares models requiring only minor tweaks saving massive design work.
3. Refine Designs for Optimized Printing
With original digital file captures in hand via scans or downloads, next utilize printer-friendly CAD tools like Tinkercad, Fusion360, or SolidWorks to refine or optimize models specifically for 3D printing by your particular machine make and specifications. Key adjustments strengthen printability, enhancing precision and durability like:
- Correct Orientation – Position the longest cross-sectional axis vertically, requiring minimal support structures underneath, minimizing layer misprints.
- Optimal Wall Thicknesses – Set outer shells between 1.2 to 2.4mm in thickness for sufficient strength in desktop FDM/FFF printers, avoiding thin, fragile walls.
- Minimal Overhangs – Design 45-degree bevels into component under sections, allowing support builds to prevent destabilizing droop points.
- Escape Holes – Remove unnecessary hollow inner voids to prevent trapped uncured filament from causing cracks.
- Clearances and Tolerances – For pieces joining or sliding, engineer 0.3 to 0.6mm gaps preventing friction binds after shrinkage post-print.
By adhering to a specialized set of guidelines, these adaptations deliver reliable printing outcomes part after part. For a deeper understanding of what these guidelines entail and how they can be applied, consider diving into an elaborative discussion on What Are the Design Rules for 3D Printing? This valuable resource can significantly enhance the effectiveness of your 3D printing process, ensuring that pieces fit together perfectly and function as intended.
4. Print and Finish Parts
Once optimizing digital design files for production readiness, confidently 3D print replacement parts using suitable material filaments matching strength, heat, and durability needs relative to original pieces made from metal or high-performance plastics. Expect to experiment with temperature and print speed profiles for best layer bonding results. Give components full proper cure treatment afterward through heat annealing, chemical vapor smoothing, or biodegradable support structure washes, providing a finished appearance and handling.
Rather than scrapping still-useful devices needing an o-ring, impeller, housing, clip or custom dials, etc., when failures arise, affordable home 3D printing now gives owners and repair shops convenient means of replicating thousands of once unobtainable plastic spare parts on demand, keeping commercial appliances or personal accessories operational long past expected lifecycles. Simply by carefully following crucial upfront scanning/design refinement steps, optimizing prints reliably, transformative digital fabrication shines, and reviving items otherwise stripped for salvage value alone. The power now exists, bringing broken things economically back to life overnight through strategic home manufacturing.


